I joined a group of ladies in an Instagram Hop for Earth Day. Our posts were to be Earth Day, Umbrella or Rainy days themed. We are making 3 cards and are using up our older supplies.
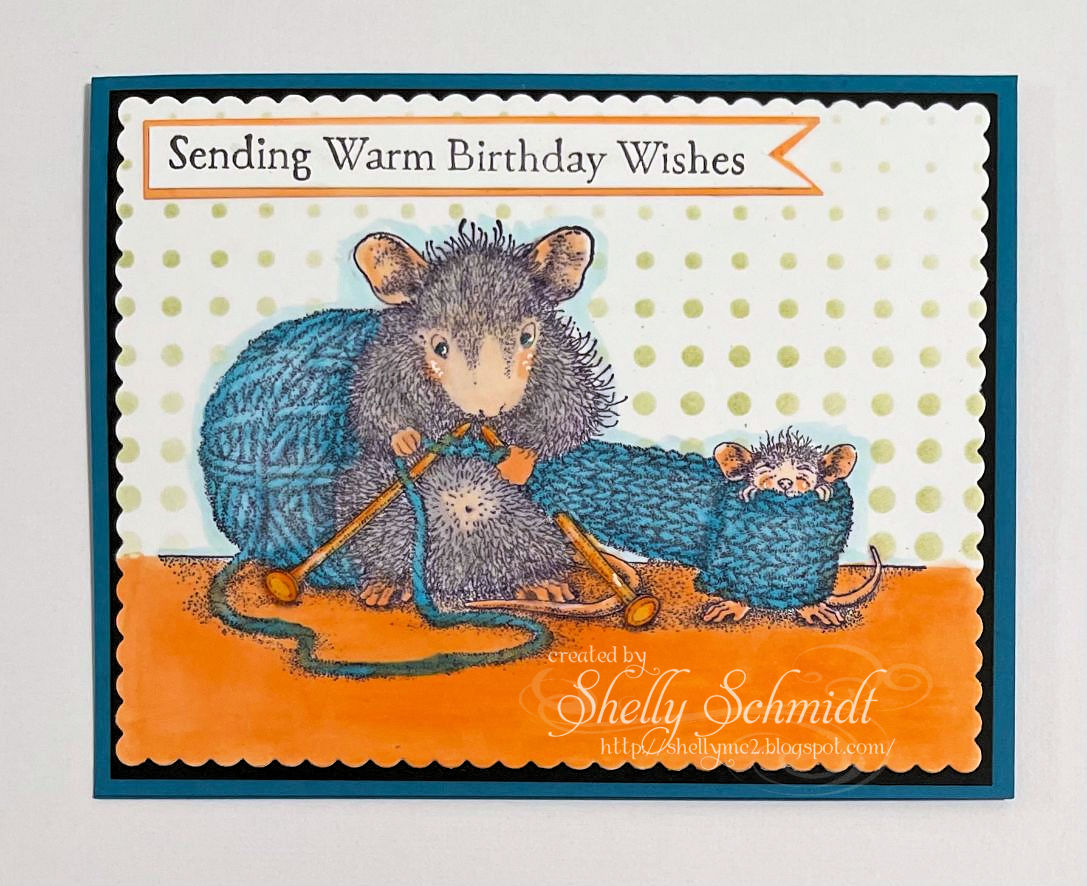
I used House Mouse images on all 3 of my cards and all coloring is done using Copic markers.

My husband and my mother grew up on farms.... so we do not view rainy days as gloomy, we view them as a gift for the crops, aka the food we eat.......
I love this parade of mice with their daisy umbrellas. I layered it on a Hero Arts collage stamp as the background done in watercolor. The die cut is Memory Box.

The Embossing folder came with my Gemini. I love the pattern of it. The sentiment- unknown- was in my sentiment box unmarked...... Die cut is MFT

And finally, I used scraps from a 2011 Basic Grey 6x6 DP pad..... I used the Spotlight technique as the background is pretty busy. I also paper pieced an umbrella from the DP.
Challenges:
House Mouse and Friends Monday Challenge: AG or use a stencil
TBA
Shelly